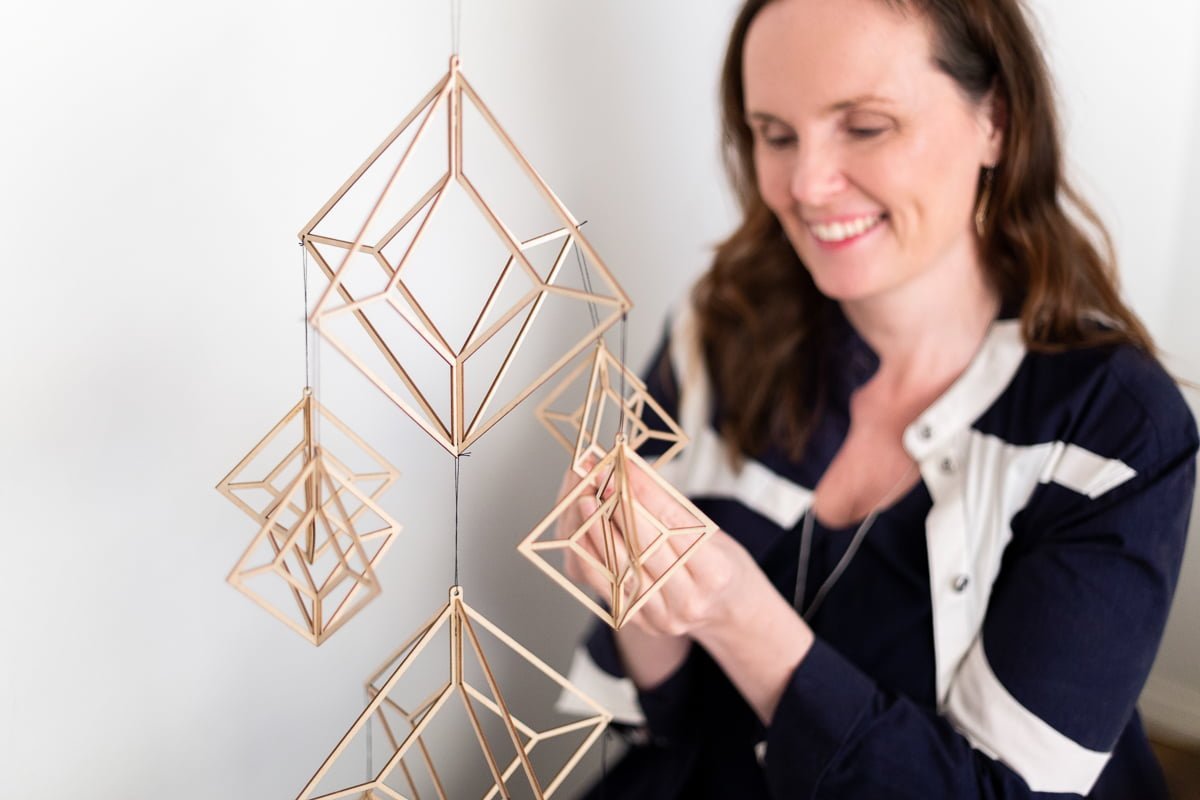
Having good product pictures at a company web page or at a catalog, is first and foremost a testament of the products high quality, as well as the professionalism of the product maker. A carelessly taken snap can make a quality product look like a cheap knickknack, whereas a good, professional picture not only gives proper information of the product but also lures the customer into buying it. As many of us non-photogenic people know, taking good pictures is not easy, that’s why it pays off to hire a professional photographer, for professional work. There are many things to be taken into consideration from positioning and lighting to location and props. The most important thing to keep in mind is that all the choices the photographer makes are to be based on the product itself and its visual image, not on the photographer’s artistic view. All though in best cases these two can be combined, resulting not only to professional but unique pictures as well.
Should the pictures be taken at a studio or out in the nature? Should there be a live model or a propped setting? What kind of filters, if any, should be used? All important questions to be answered beforehand. Designing the product shoot in advance is crucial and saves a lot of time and effort at the actual photo-shoot, where, especially at outdoor locations, time is the essence as the weather might change at any point (at least here in Finland). It is also important to know the product in advance in able to understand how its qualities and material is best brought forth. The more work is done beforehand and at the actual photo-shoot, the less editing needs to be done after. Of course the product itself and its material also have a huge impact on the amount of editing actually needed, since some products are challenging to shed light on, no matter how skilled the photographer.
During the planning process, the photographer usually already creates a certain image of the product in his mind and has ideas on how the photo-shoot should go. However a professional photographer always aims on fulfilling the customer’s vision of the product pictures, as they usually have the best understanding of the product and the message it should send out. It is the photographer’s job to assist the customer, the product maker, on finding this vision, so that best possible results are reached. Having an equivalent vision of the product image, can make the collaboration seamless. When the collaboration is seamless, the photo-shoot is easier to execute and the end result is of high quality. Such seamless collaboration Valona design has had with photographer Samuli Sivonen for many years now. We asked Samuli to gather his tips for a successful product photo shoot:
5 tips for product photo shoot
1. Choose your message
Think about what is important in the picture and what do you want it to say. Is it supposed to be informative and clear or would you rather raise emotions and images in the customers mind. Or maybe both? Think about, how these messages can be communicated visually.
2. Plan ahead
It is important to make detailed plans on how the pictures should be taken e.g. what sort of lighting should be used or from what angle the product looks most lucrative. The more variables there are (weather, lighting, a model) the more planning is needed.
3. Decide on the lighting
Photographing is all about the lighting; the direction, the quantity and the quality of light have a huge impact on what the product ends up looking like in the final pictures. For example big light, close to the product produces equal lighting and soft shadows whereas a direct lighting can easily make the product look flat. Don’t forget to take use of the natural light, whenever it is available (few days during the summer here in Finland).
4. Choose the background and props with care
Less is more, applies here as well. Simplicity is in most cases the best option and especially at a studio photo-shoot a seamless white or grey paper is a sure answer for most products. However taking use of the milieu is recommendable as long as it doesn’t steal attention from the product itself.
5. Use a tripod/stand
If you want to improve your chances of getting sharp pictures where the focus is as it should be and the picture isn’t grainy, use a tripod/stand. It might slow down the pace of picture taking in a positive way giving you the chance to think about the different angles, the lighting and the layout.
Thank you Samuli Sivonen for the interview and tips!
Find Samuli’s Valona photo and comments here. Check also his other photos.
Don’t forget to also follow Valona on LinkedIn!
Text by Maria Korpiniemi, thesis Worker at Valona design,
Marketing and Communications Student in Haaga-Helia UAS


